 I purchased my sewing machine in July so I could learn how to sew and make items for my upcoming baby. After various baby projects for my friends and their newborns, I decided to focus on a different subject, my chicas.
Ever wondered what to do with old pillows? This dog bed project from Joyful Abode seemed to be the perfect solution to my desire to recycle old pillows and provide comfort to my fur babies.
Items needed:
- 2 pillows
- 1 curtain panel
- 1 mattress pad
While on a recent trip to the Goodwill I decided to check out the linens rack. After walking up and down the color wheel of linens I found what I thought to be the perfect item. This curtain panel is a nice neutral sage green and seemed hearty enough to hold up against use by the chicas. It was also marked for the reasonable price of $3.99.

Keeping the project in mind from the Joyful Abode, I decided to take it one step further and thought some additional padding/protection for the pillows from the dogs might be helpful and I checked out the various mattress pads available. I found the perfect fit in this crib sized mattress pad, again for $3.99.

With my purchases in tow, I promptly came home to wash them and begin the project. As the curtain panel and mattress pad washed I began preparing the pillows. I chose two and noticed that one seemed to be a bit bigger than the other.

Since the pillow was also a tinge flat from use, I was able to sew the edge up tighter to the stuffing and cut off the extra fabric. Now I had two pillows roughly the same size.

I then proceeded to overlap the pillows a bit and then hand sew them together. This is the foundation of the dog bed. I sewed them on the top & bottom.
Once the pillows were sewn together the fun could begin!
I laid out the curtain panel and cut off the top part. (I made sure the remaining material would be the size I needed prior to cutting). After cutting off the top, I ironed and sewed a new hem and cut off the extra uneven fabric.

Then I laid the panel on the floor and wrapped it around the pillow with the wrong side facing out. I overlapped the edges to determine the size I needed and then slid the pillow out.

I pinned down the fabric so that I could sew a straight seam down the length of the fabric.

With this side finished I realized I had gotten a little ahead of myself and had to go back a step to the mattress pad. I put the pillows in the mattress pad and determined that instead of cutting and sewing the pad to fit around the pillows, I could stuff them in and fold over the extra fabric. In order to keep the fabric in place sewed Velcro on each end to hold it together.

Then I took the pillows covered in the mattress pad and stuffed them into the curtain panel.

I marked where the new seam for this side should be placed. I slid the pillow out, drew a line and pinned the fabric.

I sewed up the seam and cut the extra fabric.

Now for the best part!
I turned the fabric right-side out…

Does it look familiar? It should remind you of a pillow sham.
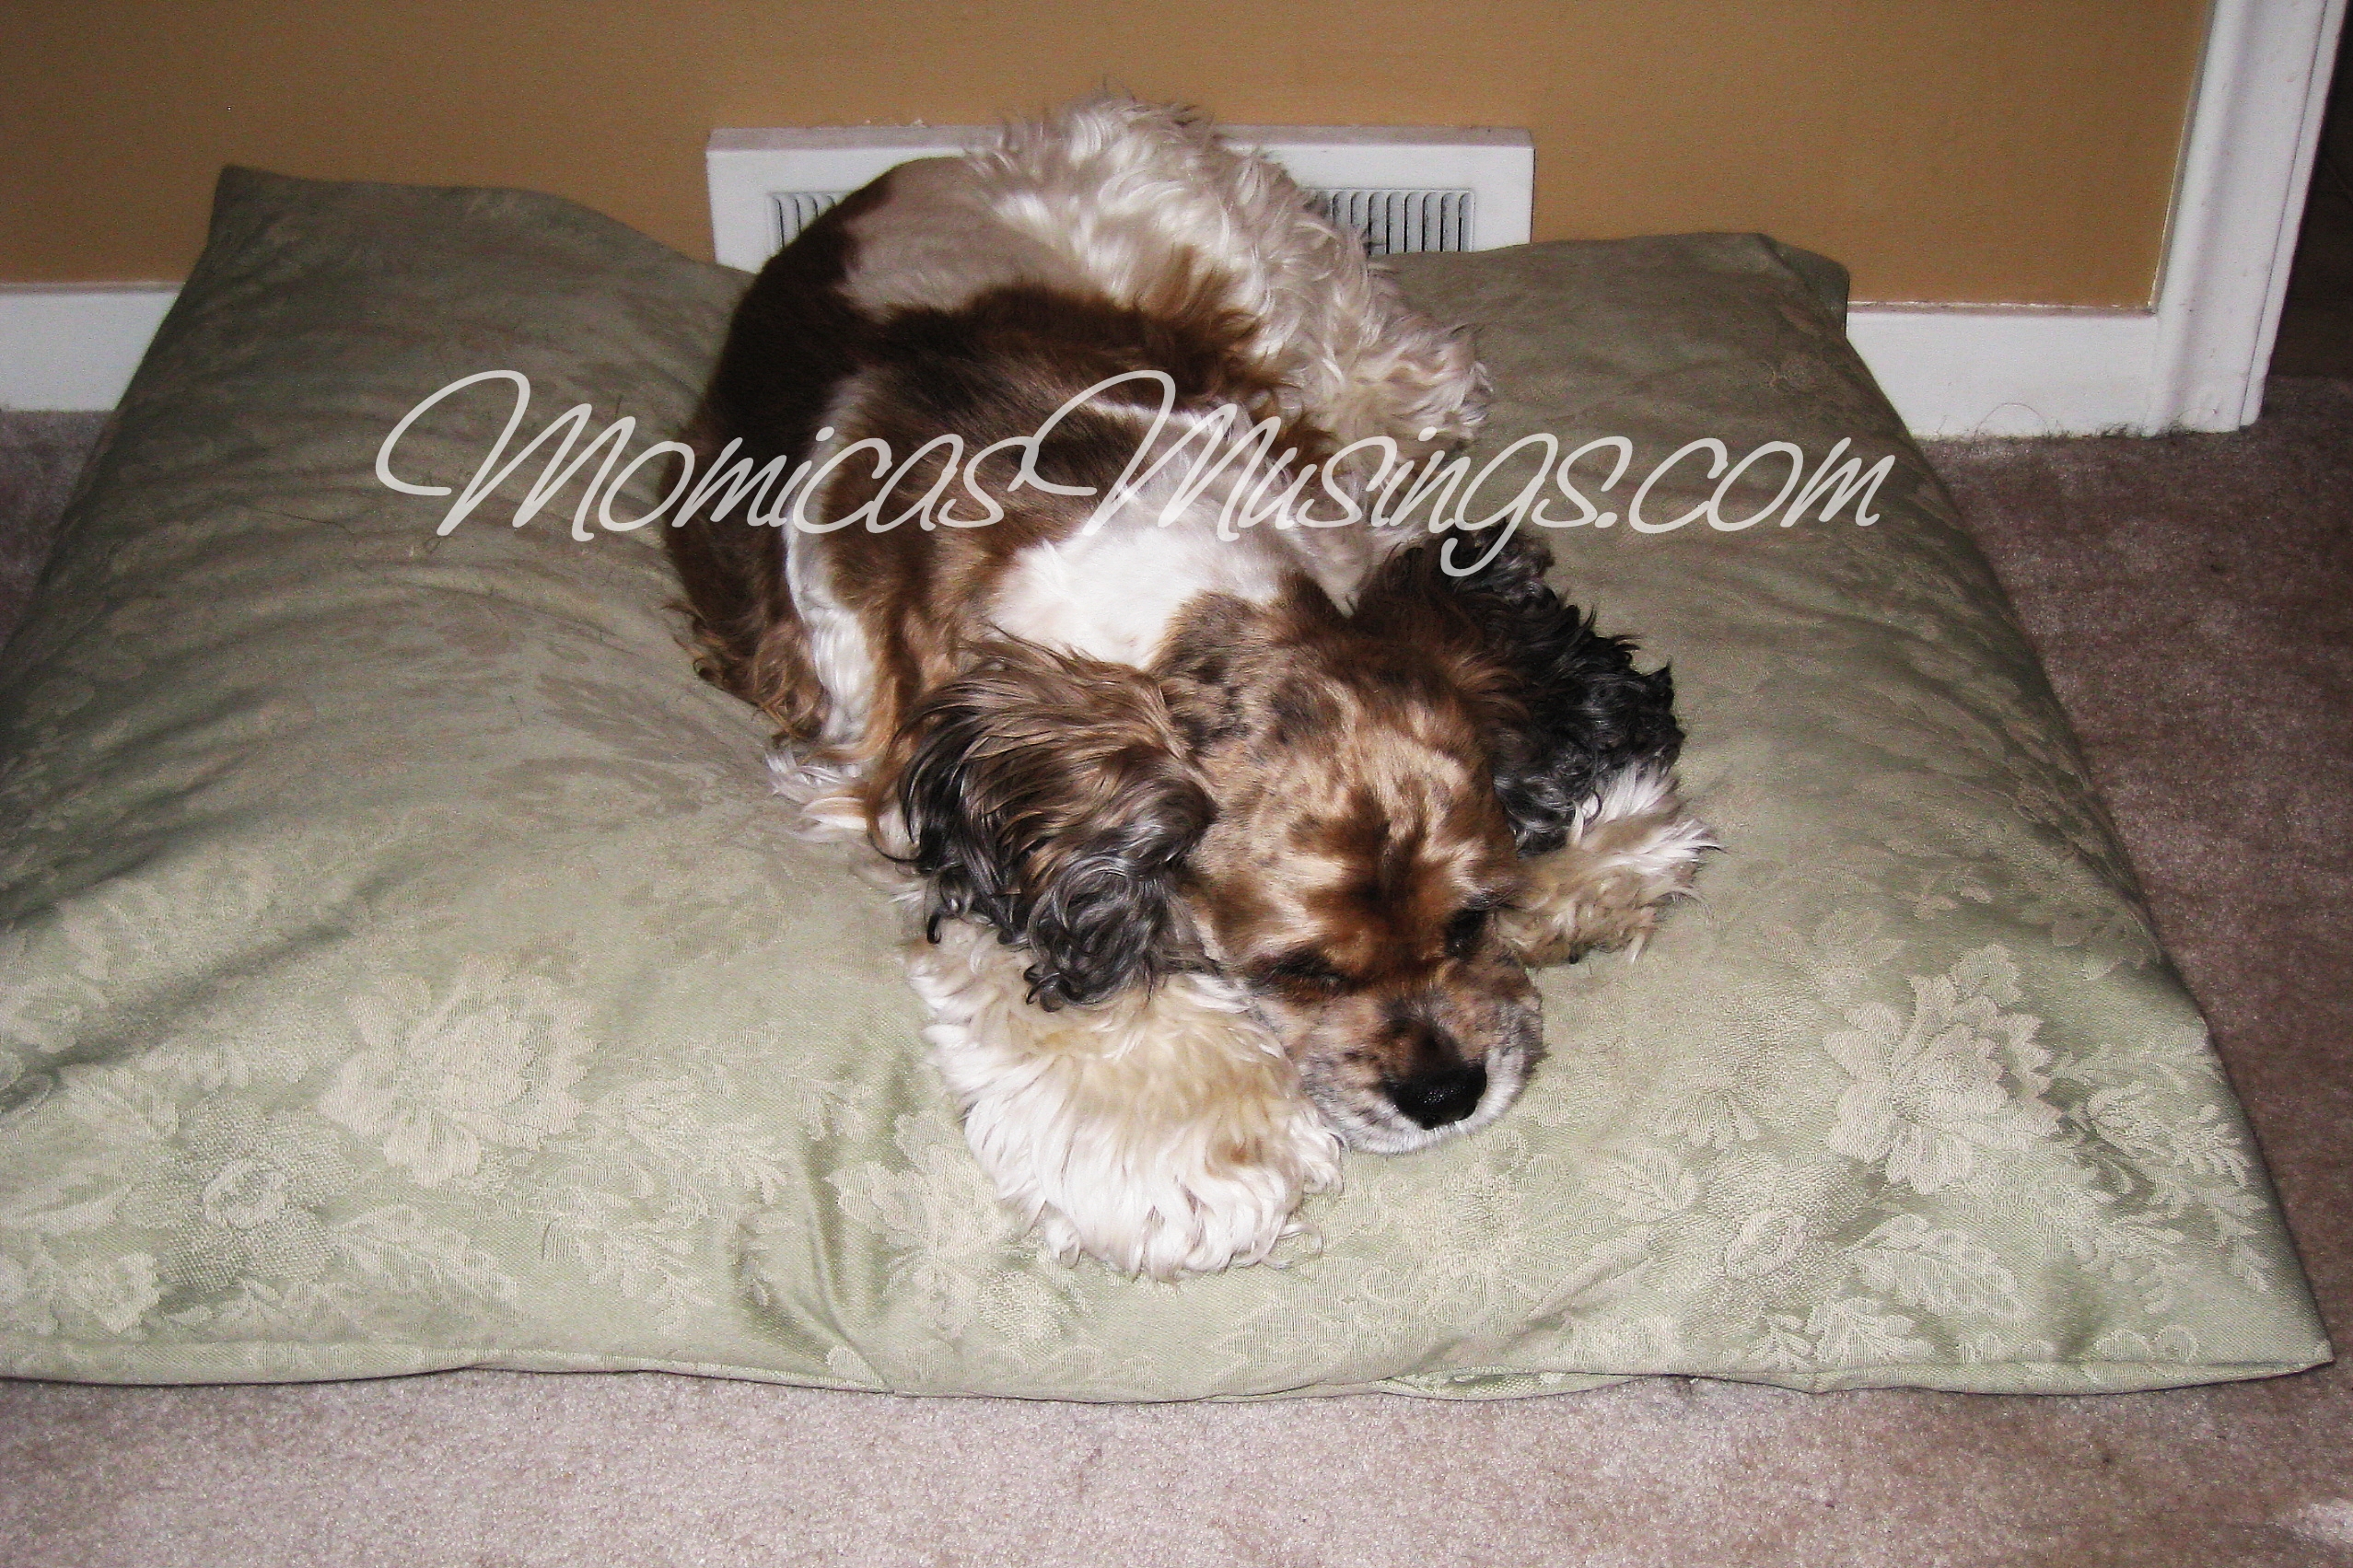
Then I stuffed the mattress pad covered pillows into the completed cover. Looks pretty good if I do say so myself.

The chicas have the final say and I think that it received their paw of approval.

